
-
×
 NodeMCU v2 ESP8266 Wifi Module ESP-12E Development Kit (With CP2102 Chip)
1 × EGP260.00
-
×
ESP8266 WROOM-02 With Breakout Board
1 × EGP250.00
-
×
NodeMCU ESP32-S Development Board (WIFI and Bluetooth) (38pin)
1 × EGP450.00
-
×
LinkSprite CC3000 WiFi Shield for Arduino
1 × EGP2,000.00
-
×
DT-06 Wireless WiFi Serial Port Transparent Transmission Module TTL to WiFi
1 × EGP275.00
-
×
ESP32-C3 Super Mini Development Module
1 × EGP400.00
-
×
WiFi Serial TTL Module ESP-01 – ESP8266
1 × EGP155.00
-
×
ESP32-CAM Development Board (with camera) ov2640
1 × EGP600.00
-
×
OV2640 Wide Angle Lens 2MP Camera Module 160 Degree 24pin 75mm
1 × EGP410.00
-
×
Step Up Power Module 3-6V to 1000KV small size
1 × EGP250.00
-
×
Neodymium Strong Magnet N52 (50 x 10 x 5) mm
1 × EGP180.00
-
×
Step Down Charge Module XL4015 5A Adjustable Power CC/CV with Display
1 × EGP250.00
-
×
DC-DC Step Up Voltage Converter Adjustable 600W (10~60Vdc to 12~85Vdc)
1 × EGP500.00
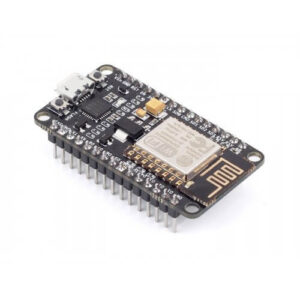 NodeMCU v2 ESP8266 Wifi Module ESP-12E Development Kit (With CP2102 Chip)
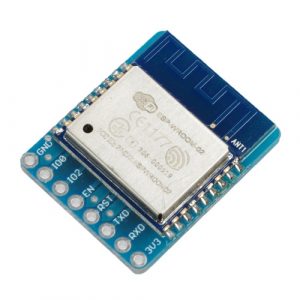 ESP8266 WROOM-02 With Breakout Board
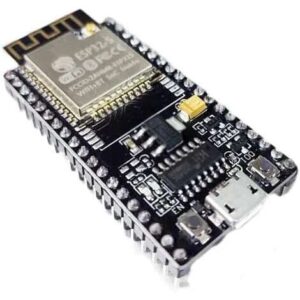 NodeMCU ESP32-S Development Board (WIFI and Bluetooth) (38pin)
 LinkSprite CC3000 WiFi Shield for Arduino
 DT-06 Wireless WiFi Serial Port Transparent Transmission Module TTL to WiFi
 ESP32-C3 Super Mini Development Module
 WiFi Serial TTL Module ESP-01 – ESP8266
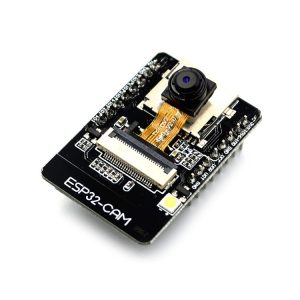 ESP32-CAM Development Board (with camera) ov2640
 OV2640 Wide Angle Lens 2MP Camera Module 160 Degree 24pin 75mm
 Step Up Power Module 3-6V to 1000KV small size
 Neodymium Strong Magnet N52 (50 x 10 x 5) mm
 Step Down Charge Module XL4015 5A Adjustable Power CC/CV with Display
 DC-DC Step Up Voltage Converter Adjustable 600W (10~60Vdc to 12~85Vdc)
Subtotal: EGP5,980.00


There are no reviews yet.